Cow Pi mark 4b Assembly Instructions (Raspberry Pi Pico, SSD1306 OLED graphic display via I2C communication)

This is a minimal set of instructions but should be sufficient if you are using a fully-populated Cow Pi mk4b. A more detailed set of instructions that include other options will be available soon.
Prepare to Assemble the Cow Pi mark 4b
Required and Optional Components
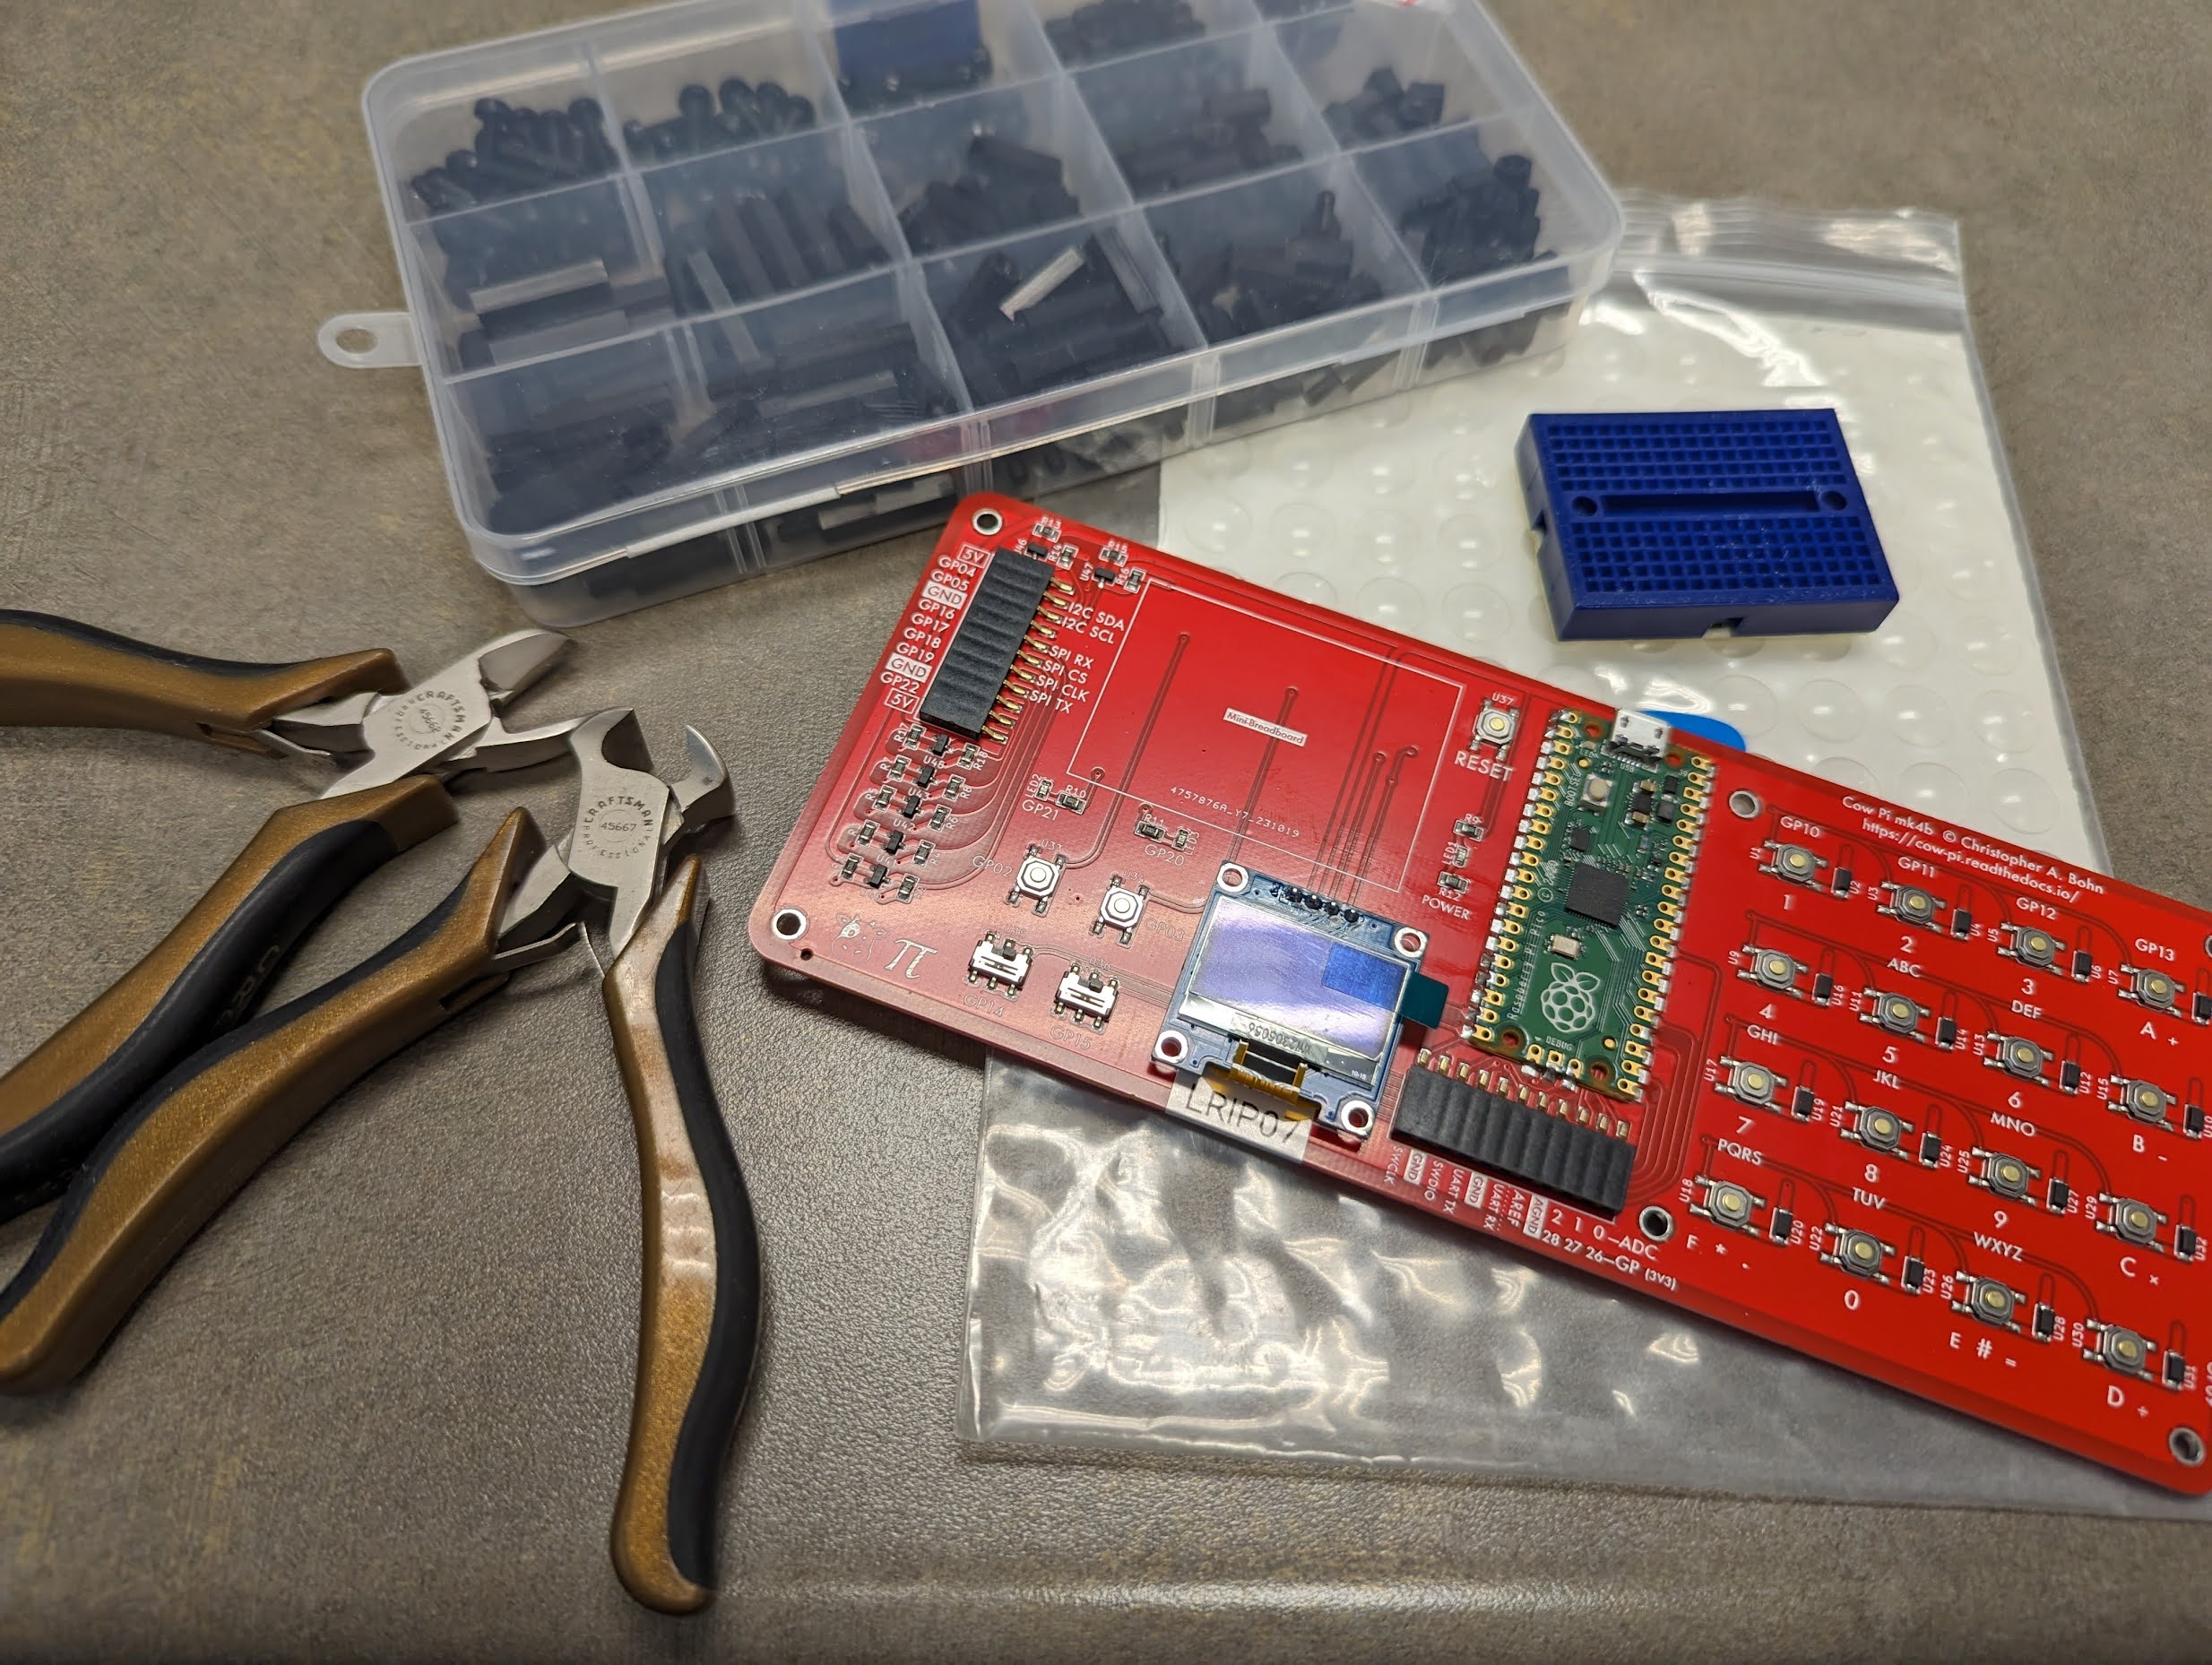
Fig. 82 Components for a Cow Pi mk4b development board, prior to final assembly.
The components for a Cow Pi mk4b development board are:
One (1) Cow Pi mk4b printed circuit board, populated at a PCBA facility
BOM file (optimized for JLCPCB)
Pick & Place file (optimized for JLCPCB)
Six (6) PCB “feet”, or adhesive rubber or silicone “bumper pads”
Both options are shown
Nylon spacers are show for the “feet” option; many other options are viable.
One (1) mini-breadboard with adhesive backing
Tools
Diagonal cutters or end cutters
Both options are shown
Final Assembly Instructions
- :[ ]:
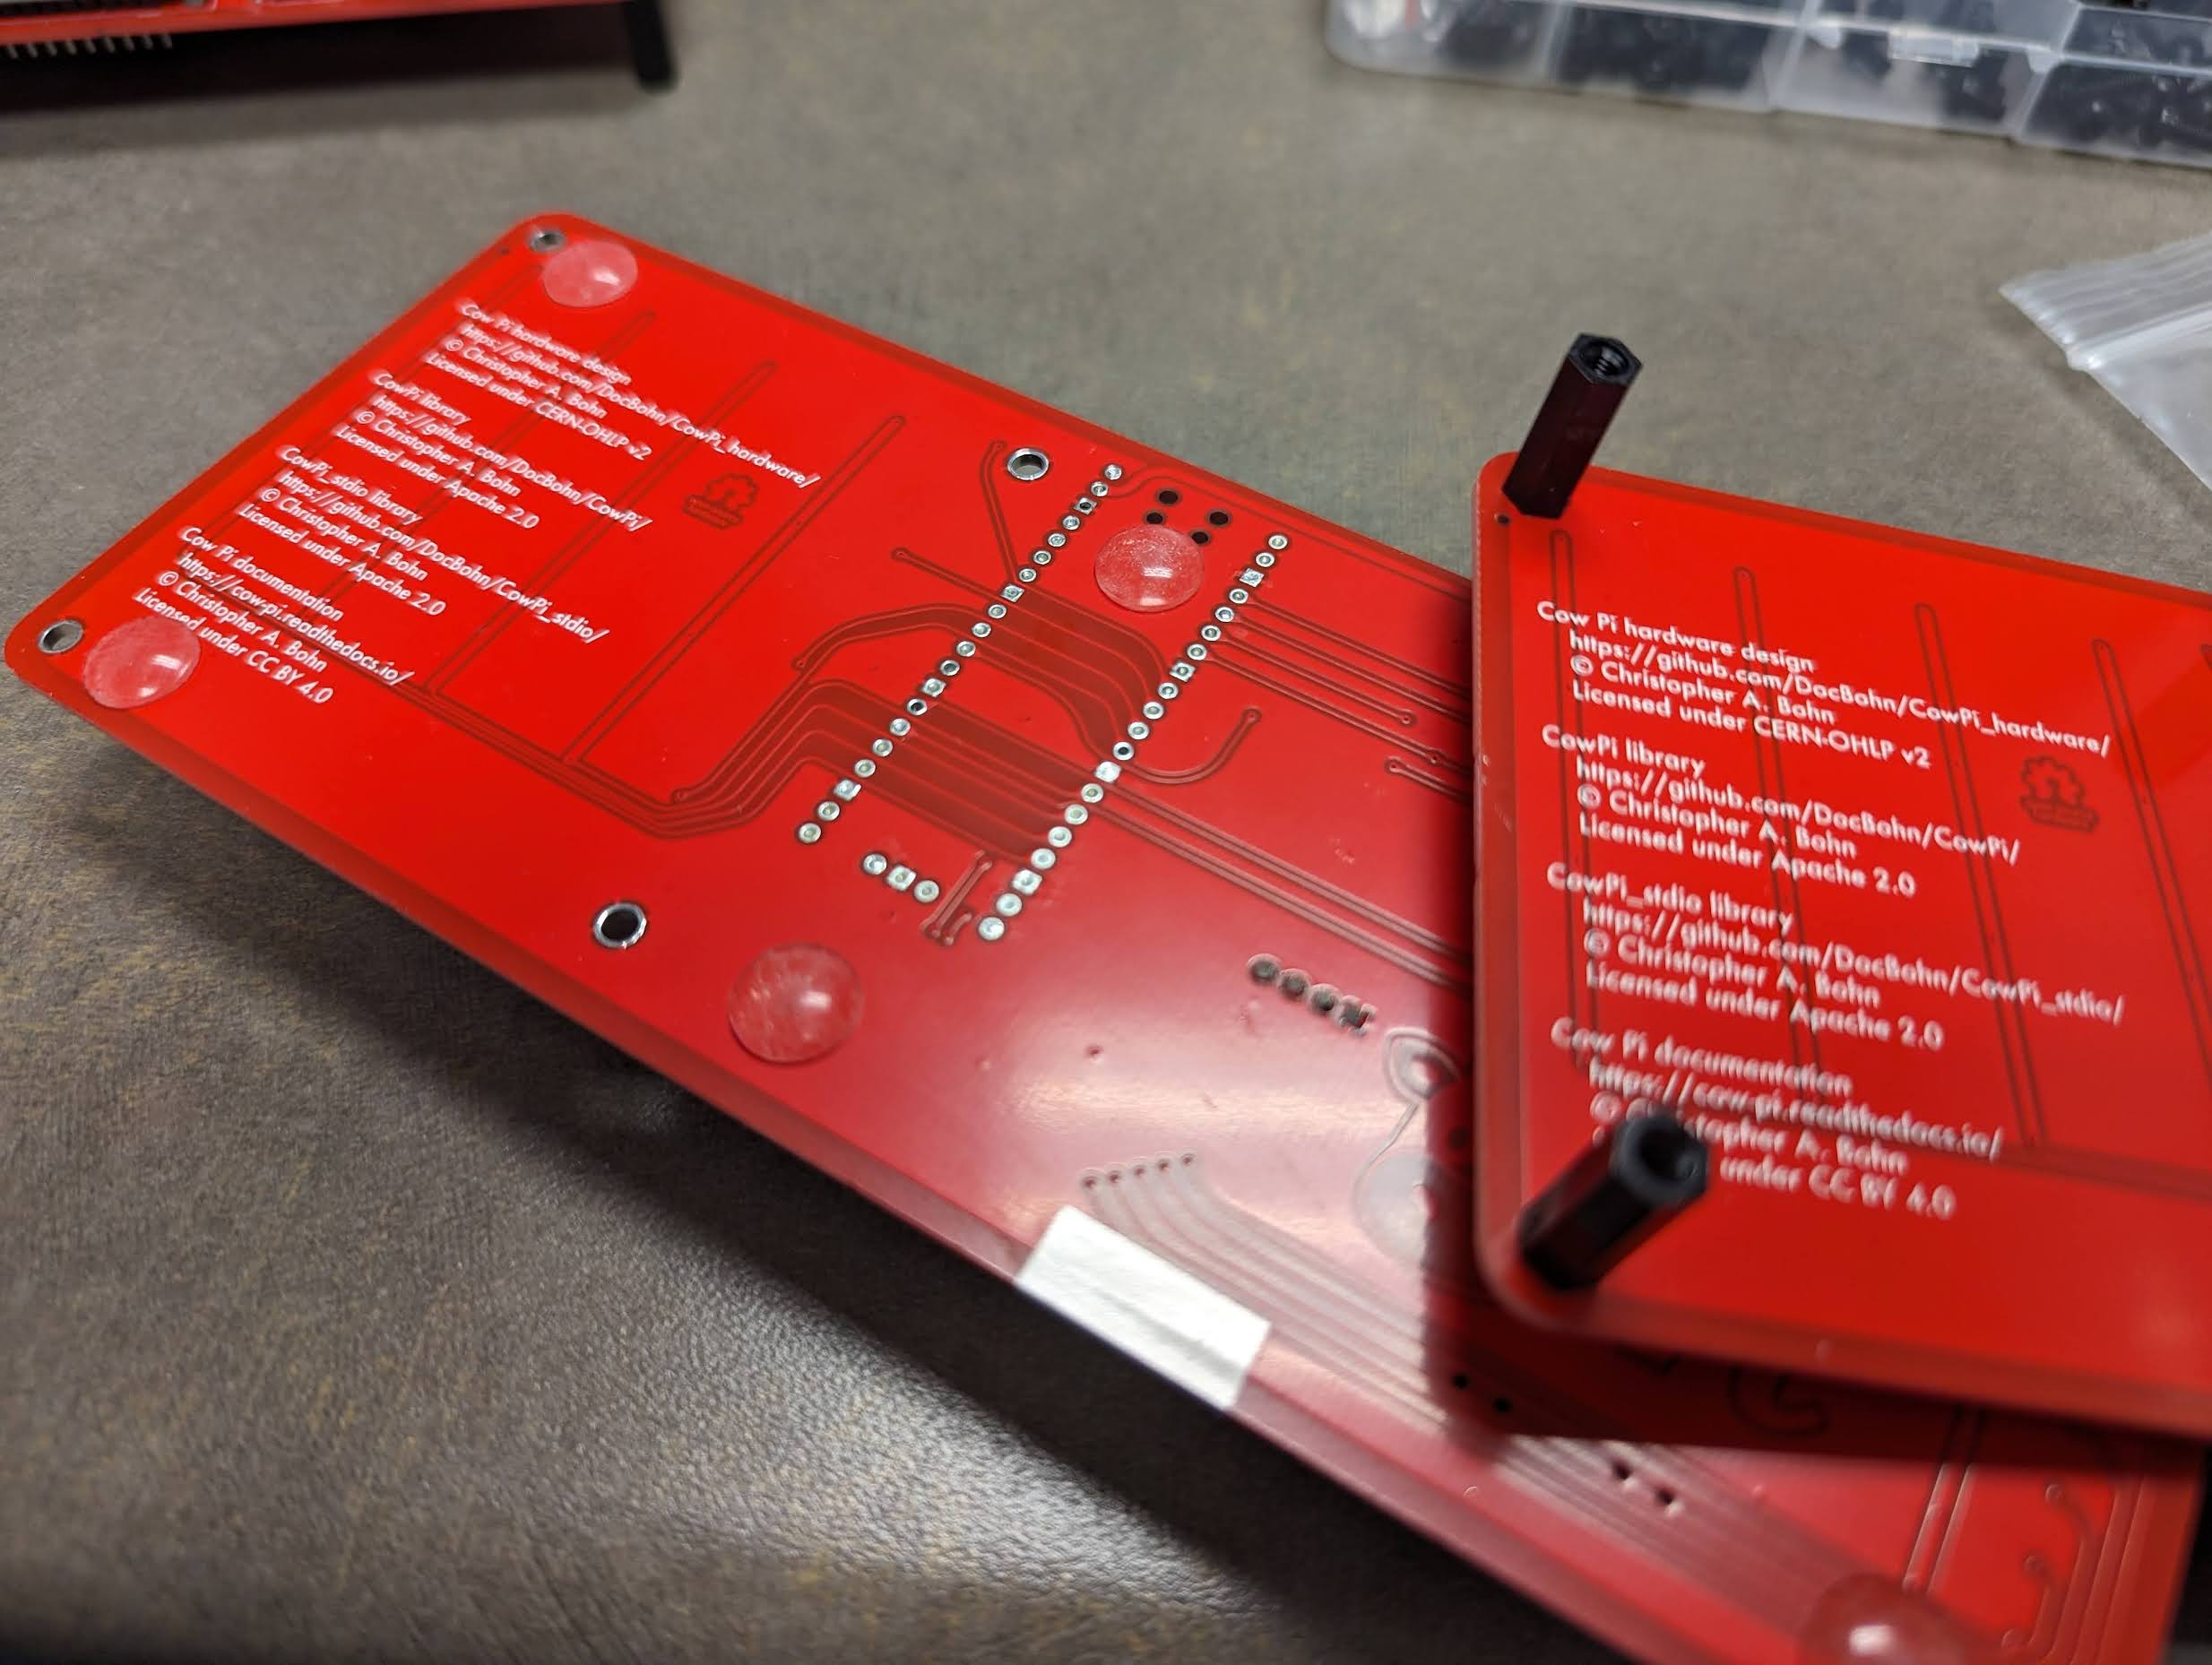
The display module’s header pins extend a few millimeters beyond the backside of the PCB. Using the diagonal cutters or end cutters, trim the display module’s header pins so that they are shorter than the PCB feet or bumper pads.

Fig. 83 Trimming the display module’s headers using (a) diagonal cutters or (b) end cutters
a |

|
b |

|
- :[ ]:
Attach the PCB feet or bumper pads:
If you have PCB feet, insert them into the mounting holes.
If you have rubber or silicone adhesive bumper pads, attach four of them on the backside of the PCB near the corner mounting holes. Attach the remaining two bumper pads longitudinally center, near the edges of the PCB; you can use the through-holes that run along the edges of the Raspberry Pi Pico as a guide.
- :[ ]:
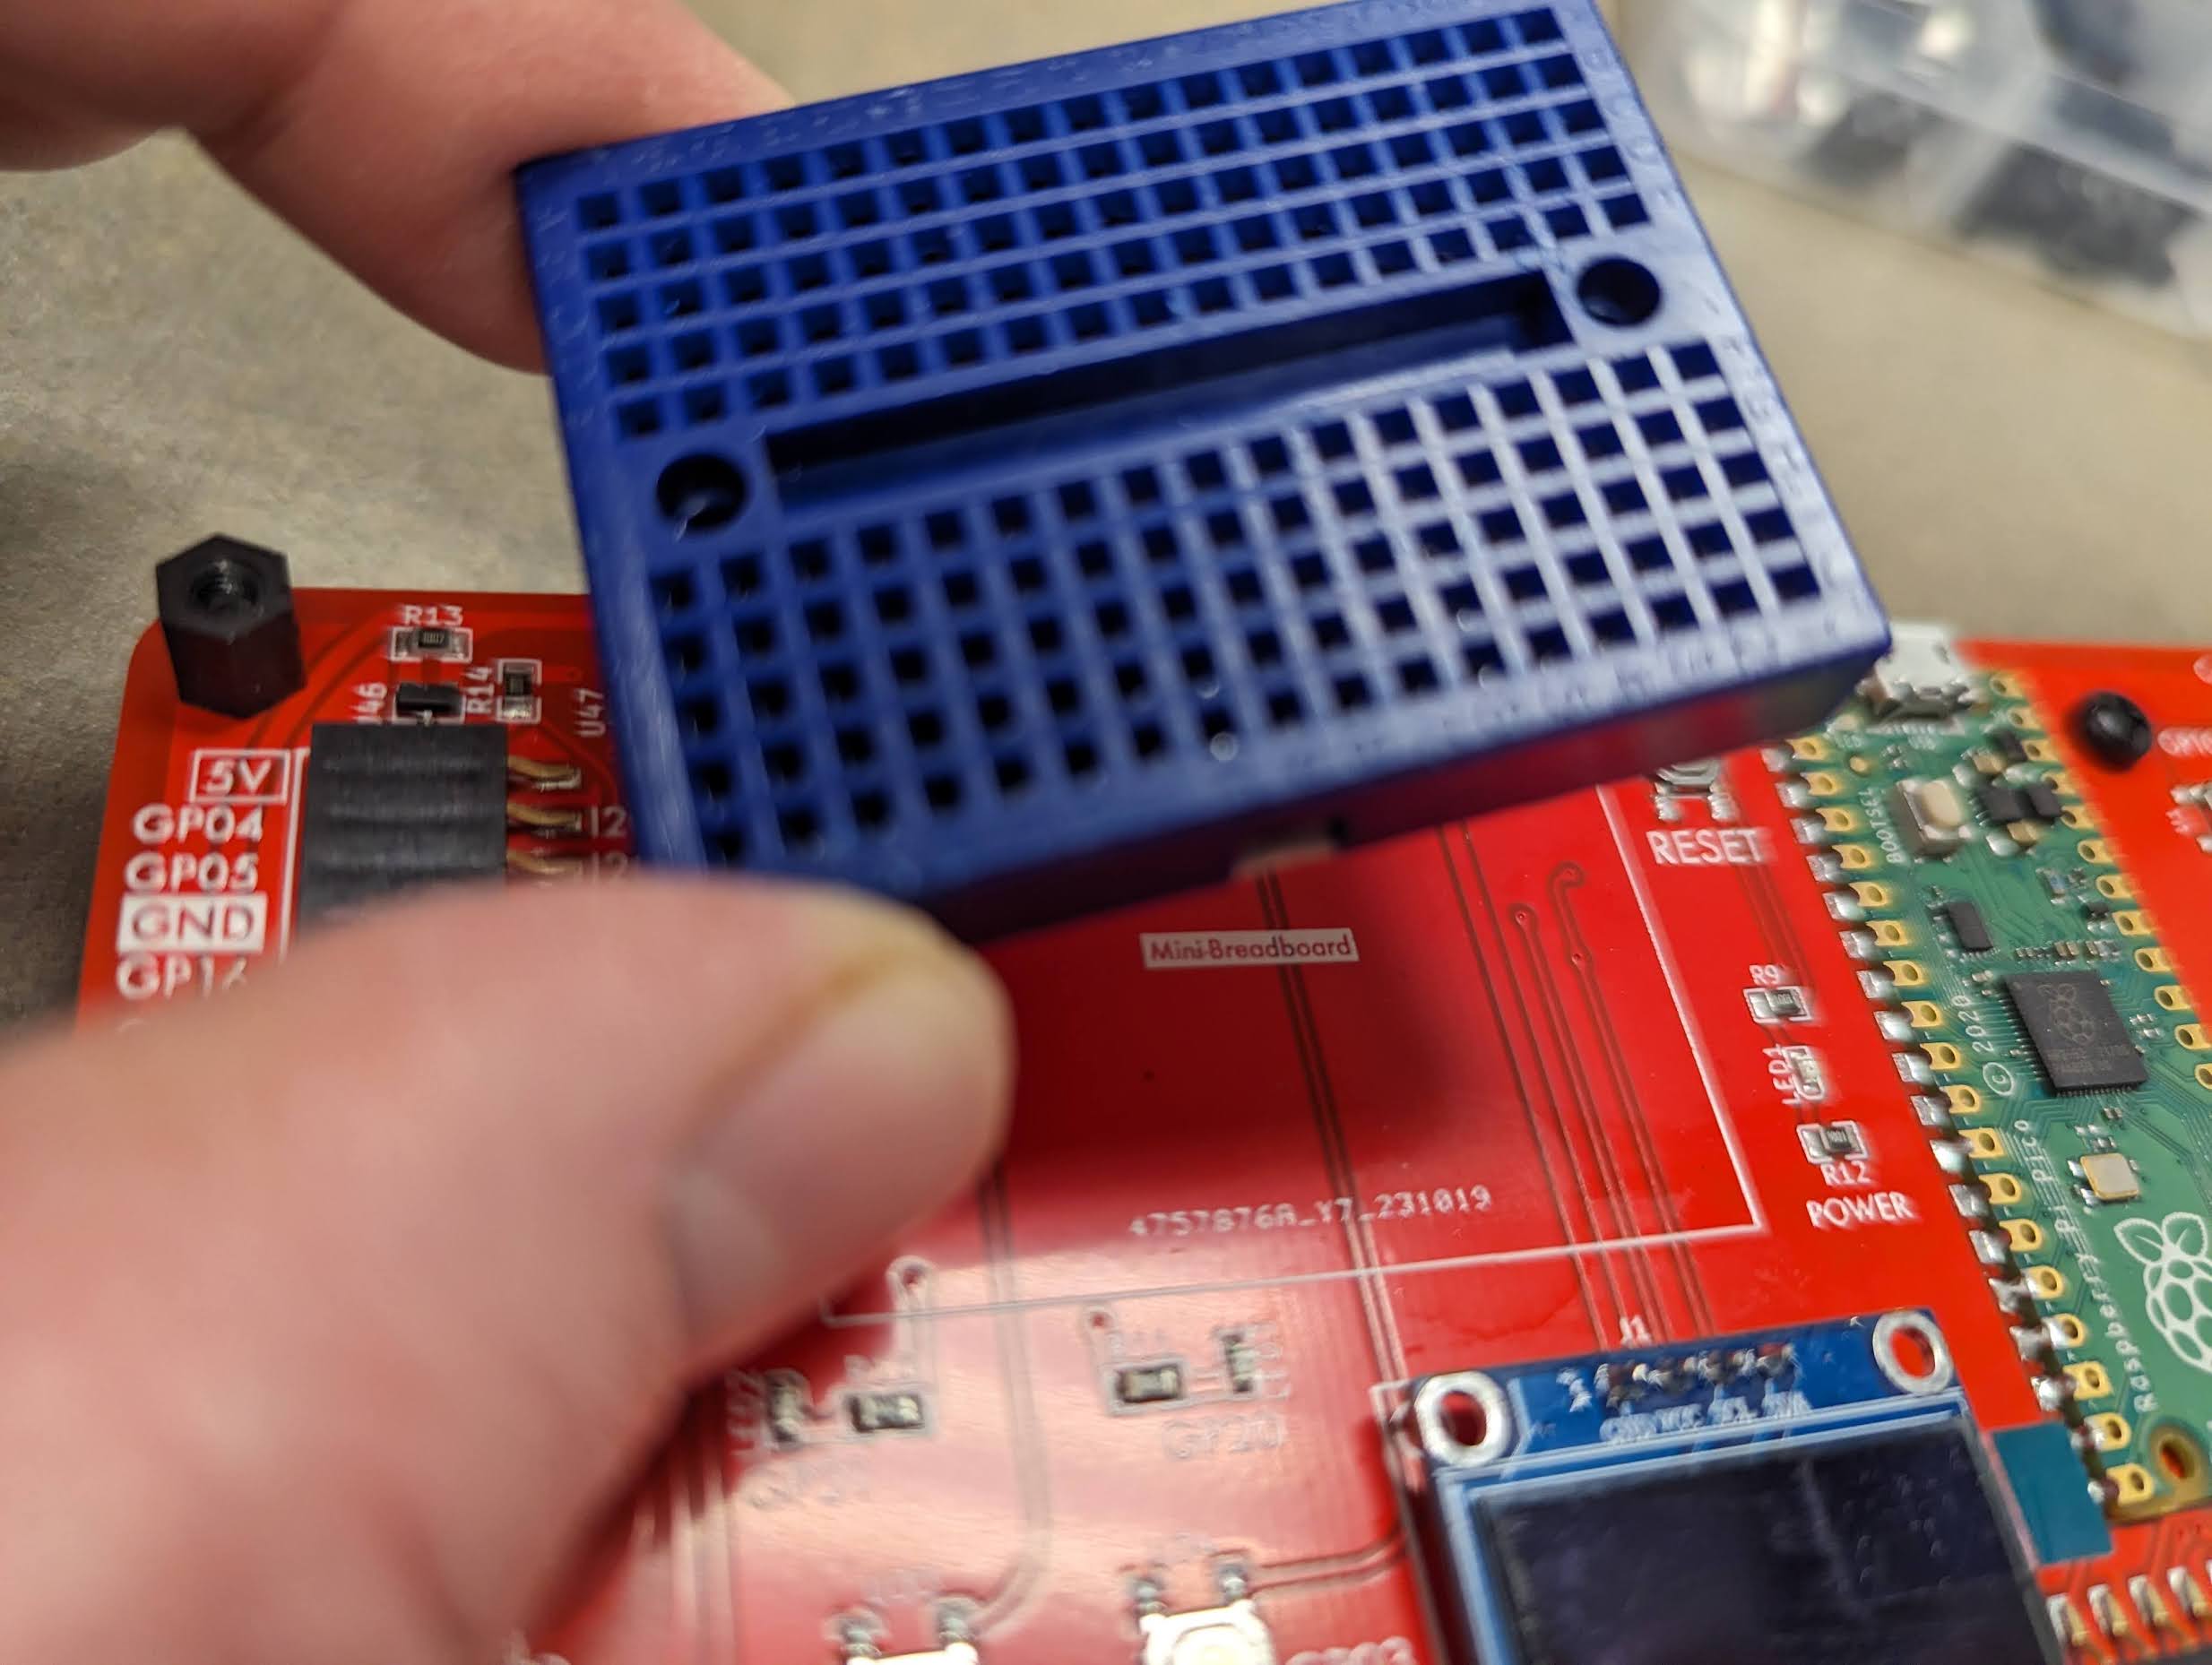
Remove the covering from the mini-breadboard’s adhesive backing
- :[ ]:
Place the mini-breadboard in the rectangle labeled “Mini-Breadboard”
Assembly is Complete
You have now finished assembling the Cow Pi mark 4b.
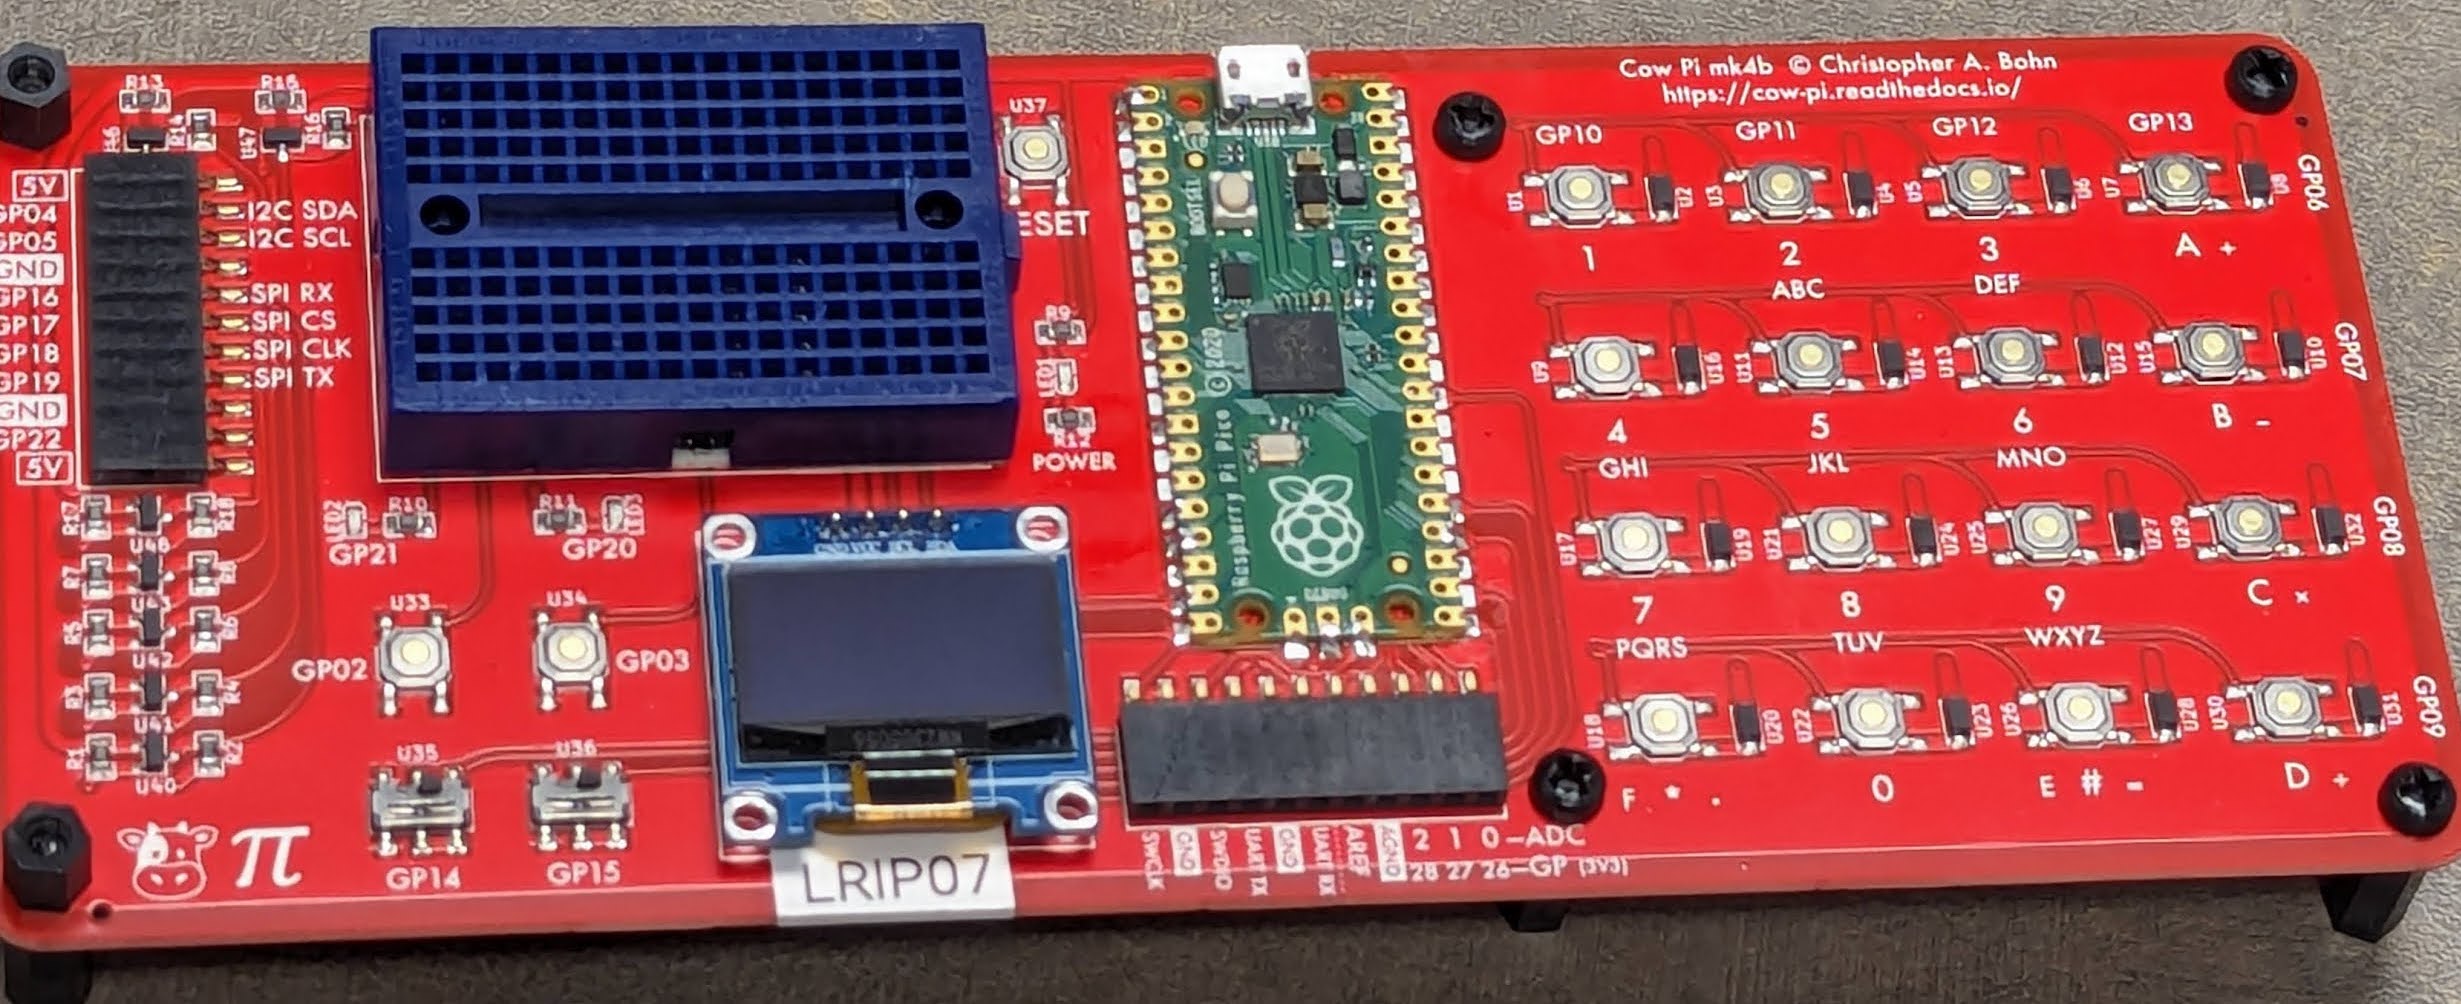
Fig. 84 A fully populated and assembled Cow Pi mk4b development board.

Fig. 85 The schematic diagram of the Cow Pi mark 4b.